- Getting Started
- Sign Up
- Workflow Overview
- Glossary
- Connect with WordPress
- Connect Web Apps
- Workflows
- Triggers
- Actions
- Edit Workflows
- Types of Trigger Data
- Data Mapping
- Test Action
- Workflow History
- Auto-replay Failed Steps
- Update/Delete Connections
- Webhook URL Update
- Ensuring a Seamless WordPress Connection with OttoKit
- How to Disconnect OttoKit from WordPress
- How to Delete a WordPress Connection in OttoKit
- How to Generate a Random Number in OttoKit
- Automatically Add WooCommerce Orders to Google Sheets
- AI Agents
- Replay Failed Steps
- API App
- Schedule App
- Filter Versus Condition
- Filter App
- Delay App
- Branch App
- Email Parser
- Export/Import Workflows
- Hide OttoKit from WordPress
- Using Conditions
- Number Formatter
- Date/Time Formatter
- Trigger Button
- Path App
- Folders
- Organizations and Workspaces
- Human in the Loop
- Getting Started with Otto AI Agents: A Step-by-Step Workflow Example
- Automate Repetition with Precision: OttoKit Loop Integration
- How to Switch Organizations in OttoKit
- How to Invite Members to a Workspace in OttoKit
- How to Disconnect OttoKit from WordPress
- How to Delete a WordPress Connection in OttoKit
- Code by OttoKit (Python) – Complete User Guide
- Using the XML App in OttoKit
- Using the FTP App in OttoKit
- Using the HTML App in OttoKit
- OttoKit Text Formatter
- How to Generate a Random Number in OttoKit
- Using the Convert to File App in OttoKit
- Prerequisites
- Building an Integration
- Setting Up Authentication
- Setting Up Triggers & Actions
- Publishing Integration
- How To Authenticate Your Application Using The API Key Method
- How to Set-Up the Integration Based on Auth Type Bearer Token
- How To Authenticate Your Application Using OAuth 2.0
- How To Authenticate Your Application Using Basic Auth
- How To Authenticate Your Application Using The JWT Bearer Method
How to Delete a WordPress Connection in OttoKit
Making the move from staging to production? Or perhaps you need to swap out an old WordPress site for a new one? Whatever your reason, managing your WordPress connections in OttoKit should never hold back your progress.
For free plan users, especially, this process is essential since you’re working with one precious WordPress connection slot. The good news? Deleting a connection is quick, clean, and completely reversible, giving you the flexibility to adapt your setup as your projects evolve without losing any of your valuable automation work.
Before you begin, make sure you have:
- Access to your OttoKit account
- Admin credentials for app.ottokit.com
- Decided which WordPress site connection you want to remove
Step-by-Step Deletion Process
- Step 1: Access the OttoKit Platform
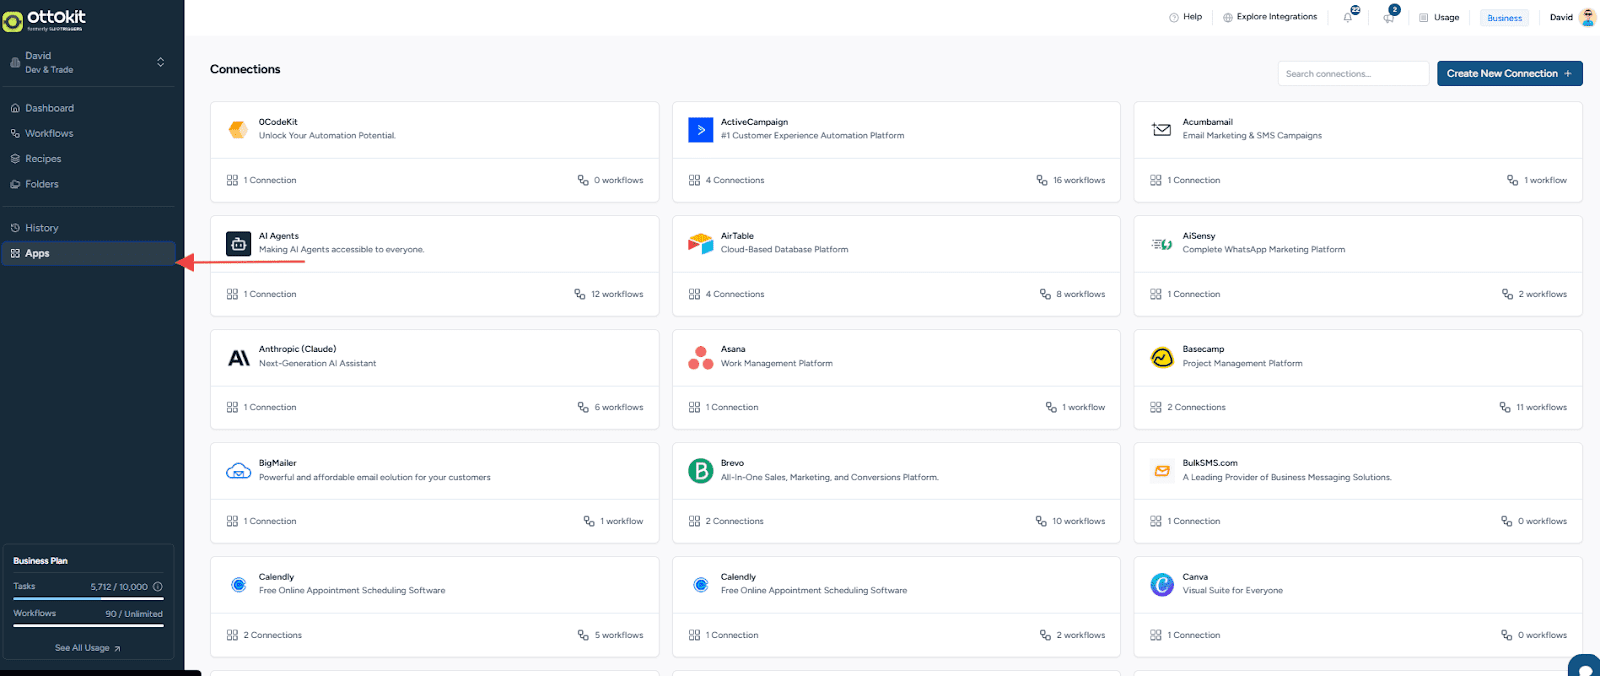
Navigate to app.ottokit.com and log in with your account credentials - Step 2: Navigate to Apps
Once you’re logged in, click on “Apps” in the left-hand navigation menu. This will take you to your connections dashboard, where all your integrated platforms are displayed.
- Step 3: Locate Your WordPress Connection
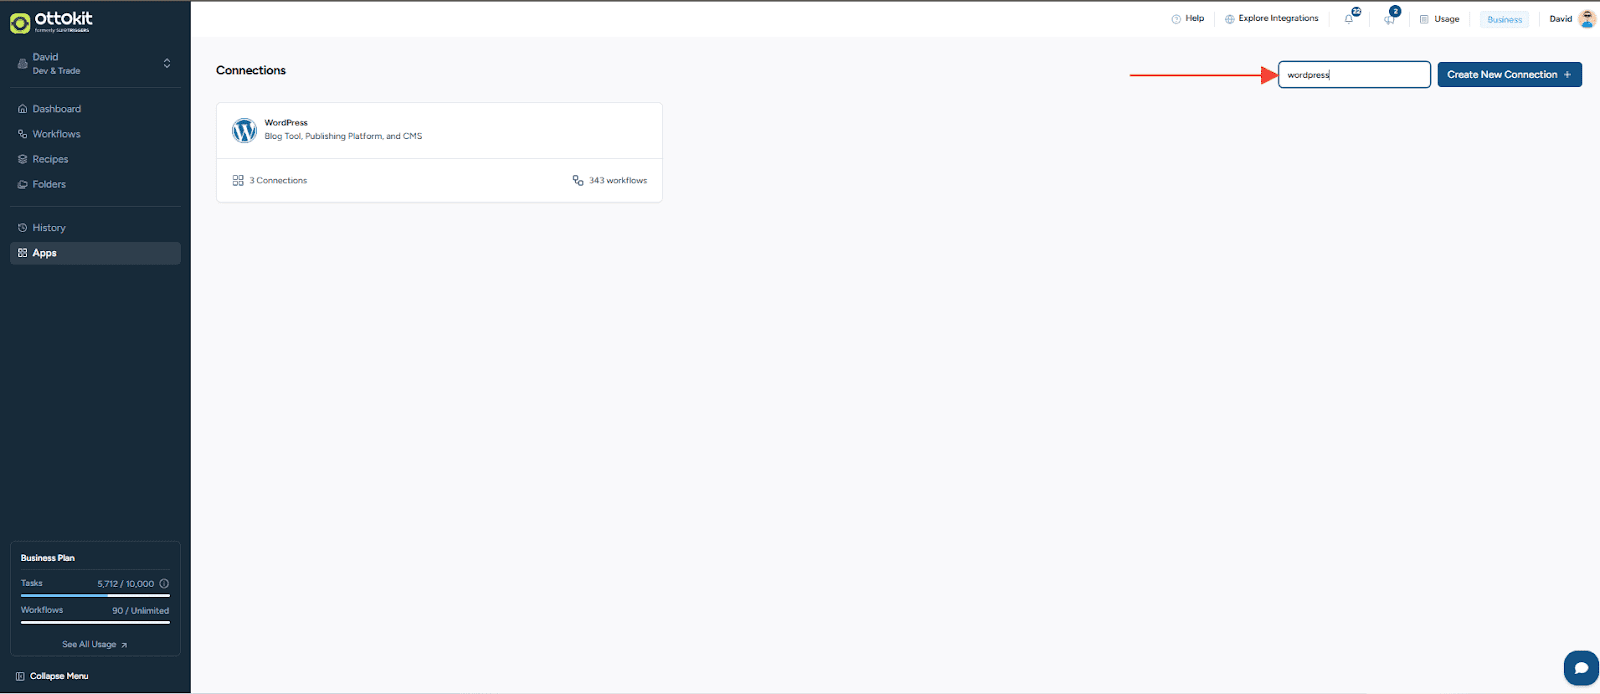
You have two options to find your WordPress connection:
Option A: If you have multiple app connections, use the search bar at the top of the Apps page and type “WordPress” to quickly filter your results.
Option B: Scroll through your list of connected apps until you find the WordPress connection you want to remove.
- Step 4: Delete the Connection
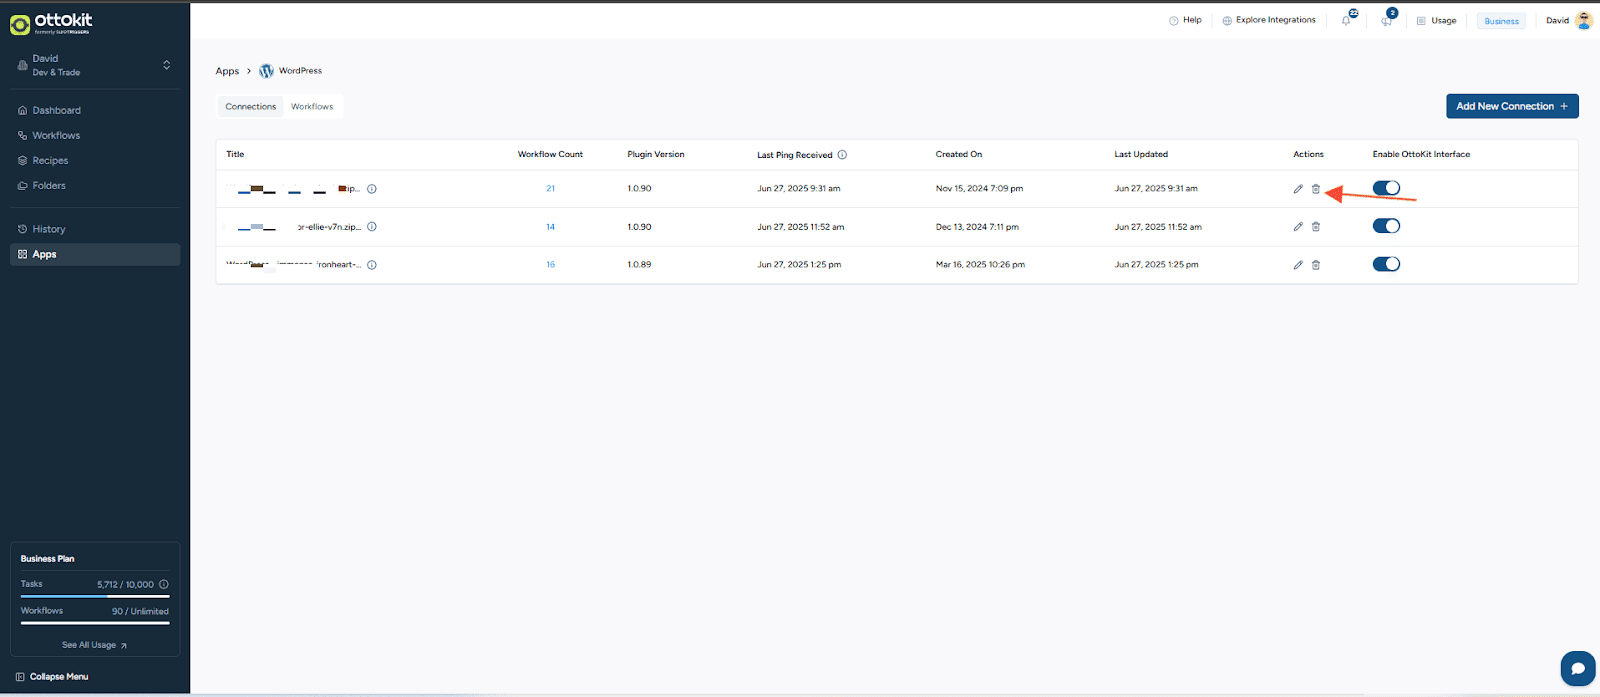
Once you’ve located your WordPress connection:
– Look for the delete button ( represented by a trash icon )
– Click the delete button to remove the connection
- Step 5: Confirm Deletion
You will be prompted to confirm that you want to delete this connection. Click “Yes, Delete” to proceed with the deletion.
What Happens After Deletion
Once you’ve successfully deleted your WordPress connection:
- Your connection slot is freed up, and you can now connect a new WordPress site
- Existing automations are paused, any workflows that relied on this connection will stop running
- Your OttoKit account remains intact, and all your other connections and account data are preserved
- You can reconnect anytime. There’s no permanent restriction on reconnecting to the same site later
Next Steps
With your old WordPress connection removed, you’re now ready to:
- Connect your new WordPress site following our connection guide
- Update any existing automations to work with your new site
- Test your workflows to ensure everything runs smoothly
We don't respond to the article feedback, we use it to improve our support content.